Quick Answer:
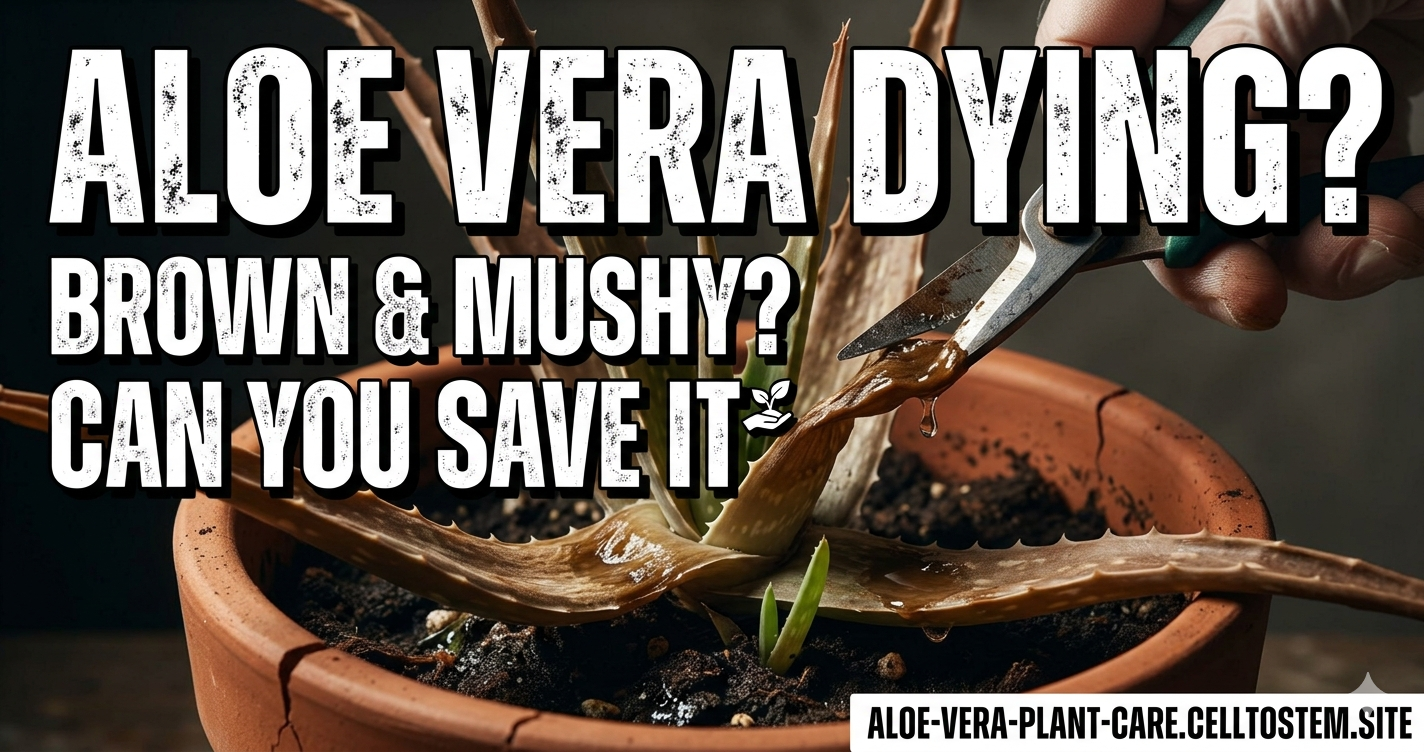
If your aloe vera is brown and mushy, it is likely suffering from root rot caused by overwatering or poor drainage. To save it, remove the plant from its pot, trim away slimy black roots and mushy leaves, let the healthy parts air-dry for 24 hours, and repot in fresh, dry cactus soil.
The Day I Almost Killed My “Indestructible” Aloe
We’ve all been there. You buy an aloe vera because everyone says they are the “perfect beginner plant.” You place it on your kitchen windowsill, give it a nice drink of water every few days, and expect it to thrive. Then, one morning, you notice a leaf looks a bit translucent. By the next week, the base is a swampy mess of succulent brown mushy leaves, and the whole plant is slumped over like it’s given up on life.
I remember my first “rescue” aloe. I named it Al. I treated Al like a thirsty puppy. Every time the surface of the soil looked slightly dusty, I’d give him a splash. I didn’t realize that under the surface, Al’s roots were literally drowning. One day, I touched a leaf, and it simply slid off the stem in a pile of brown goo. It was a classic case of an aloe vera plant turning brown and mushy.
In this guide, I’m going to share exactly what I learned from Al’s demise—and how I’ve successfully saved dozens of plants since. We’re going to look at the best indoor aloe vera plant care techniques to ensure you never have to deal with a “mushy” situation again.
Why Is My Aloe Vera Turning Into Mush?
The short answer? Oxygen deprivation. When an aloe vera sits in waterlogged soil, the roots cannot breathe. This leads to aloe vera overwatering symptoms, which quickly escalate into the dreaded aloe vera root rot.
Aloe vera plants are succulents. Their leaves are essentially giant water tanks. They evolved in arid environments where rain is rare. When we overwater them, those “tanks” burst, and the cellular structure of the plant collapses. This is why you see aloe vera plant soft leaves and eventually aloe vera plant drooping.
Common Signs You Are Overwatering:
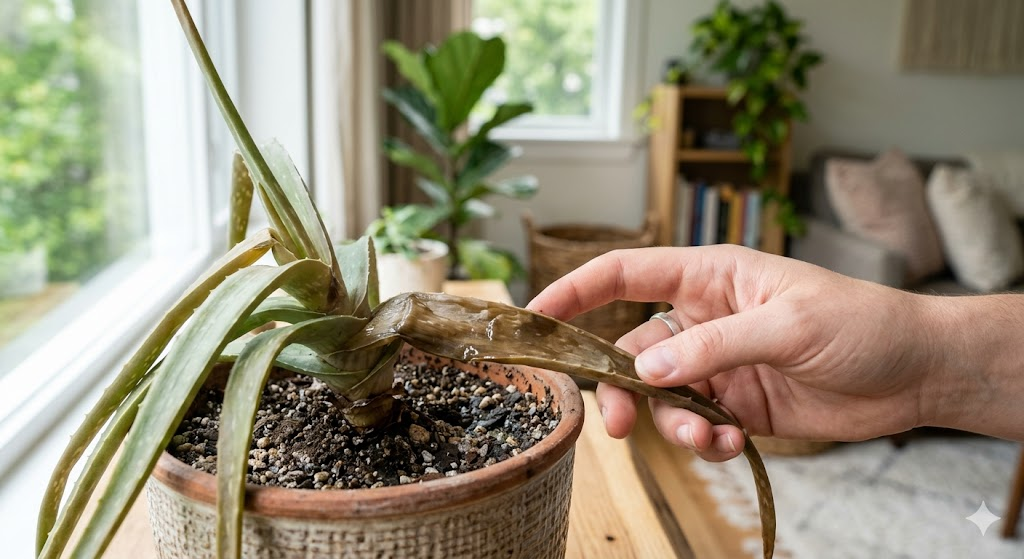
- The leaves feel squishy or “blistered.”
- The bright green color turns to a muddy yellow or brown.
- The plant starts leaning, or the aloe vera plant leaves falling off without being touched.
- A foul, swampy smell coming from the soil (this is a definitive sign of aloe vera plant stem rot).
The “Rescue Operation”: Best Way to Save Aloe Vera Plant
If you’ve caught the problem early enough, you can still save your green friend. Here is my tried-and-true best treatment for aloe vera root rot.
Step 1: The Extraction
Don’t just pull on the plant. Gently tip the pot sideways and slide the root ball out. If the soil is soaking wet, that’s your “smoking gun.” Use your fingers to brush away the wet dirt so you can see the roots.
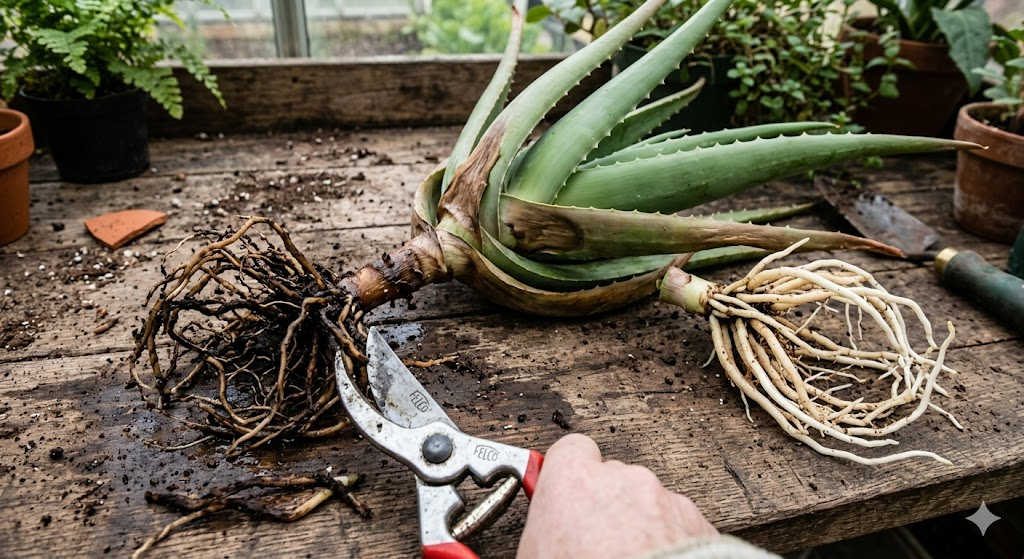
Step 2: The Surgery
Healthy aloe roots should be firm and tan or white. Rotting roots are black, slimy, and smell like old gym socks. Use a sterilized pair of scissors to snip off every single bit of rot. If the rot has reached the stem (creating aloe vera plant brown spots at the core), you’ll need to cut back until you see healthy, green tissue.
Step 3: The Callus Period
This is the part beginners hate: Leave the plant out of the soil. Place your trimmed aloe on a paper towel in a dry, shaded spot for 24 to 48 hours. This allows the “wounds” to callus over. If you put a freshly cut plant directly into wet soil, the bacteria will just jump right back in.
Setting Up for Success: Soil and Pots
If you want to avoid aloe vera plant recovery missions in the future, you have to get the foundation right. Most store-bought aloes come in “standard” potting mix, which is often a death sentence because it holds onto water for too long.
The Best Soil for Aloe Vera Plant
You need a mix that drains fast. I personally recommend a high-quality “Cactus and Succulent Mix.” If you want to go the extra mile, mix in a handful of perlite or pumice. This creates air pockets in the soil, ensuring the roots stay oxygenated even after a watering.
The Best Pot for Aloe Vera Plant
Stay away from plastic or glazed ceramic if you tend to be a “heavy-handed” waterer. The best pot for aloe vera plant is unglazed terracotta. Terracotta is porous, meaning it “breathes” and allows moisture to evaporate through the walls of the pot, not just the top. Also, never use a pot without a drainage hole. If your favorite decorative pot doesn’t have a hole, use it as a “cachepot” (keep the plant in a plain plastic nursery liner inside the pretty pot).
Mastering the Environment: Light and Temperature
Sometimes, an aloe vera plant yellowing isn’t about water—it’s about energy. If your plant is in a dark corner, it can’t process the water you give it fast enough.
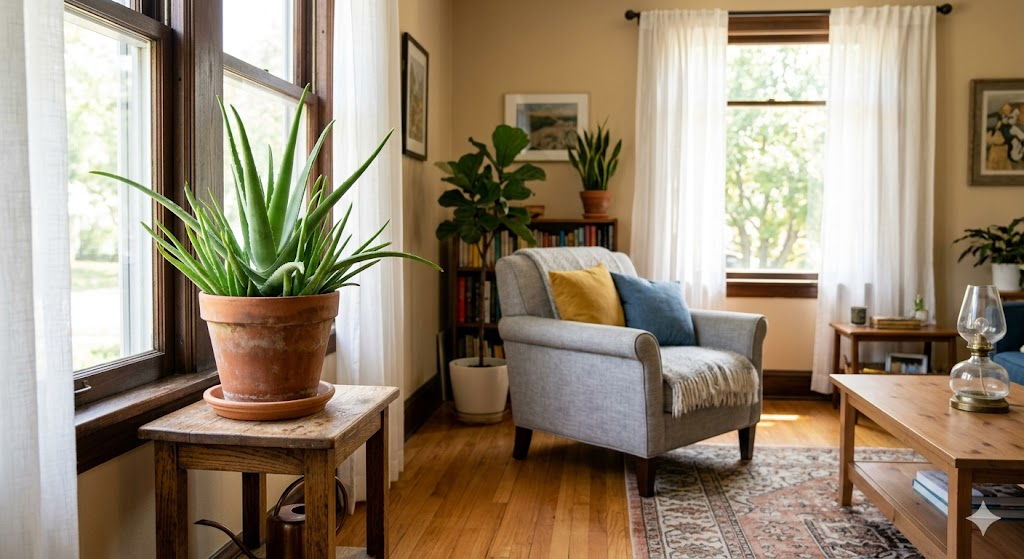
The Best Light for Aloe Vera Plant
Aloe vera loves bright, indirect light. A south or west-facing window is usually the “sweet spot.” However, be careful with direct, scorching afternoon sun in the peak of summer, as this can lead to “sunburn,” which looks like dry, brittle brown spots (different from the mushy brown spots of rot).
Temperature and Humidity
These plants thrive in temperatures between 55°F and 80°F (13°C to 27°C). If your home is exceptionally humid, you’ll need to water even less frequently. I’ve noticed my aloes in the bathroom need about half as much water as the ones in my dry home office.
Image Prompt 3: A wide shot of a sun-drenched living room. A healthy, vibrant green aloe vera sits in a terracotta pot on a wooden stand near a window with sheer curtains, showing the ideal “bright indirect light” setup.
The “Goldilocks” Watering Schedule
“How often should I water?” is the most common question I get. The truth is, there is no set calendar. A best watering schedule for aloe vera depends on your climate, the season, and the light.
The Golden Rule: Only water when the soil is dry at least 2 to 3 inches deep. Stick your finger in the dirt. If it feels even slightly damp, walk away.
- In Summer: You might water every 2 weeks.
- In Winter: The plant goes dormant. You might only water once a month or even every 6 weeks.
When you do water, soak the soil until water runs out of the drainage hole, then let it dry out completely. This “soak and dry” method mimics the natural desert rain cycles.
Feeding and Varieties: Expert Tips
Many people think more food equals a faster-growing plant. With aloes, less is more.
The Best Fertilizer for Aloe Vera Plant
You don’t need to feed your aloe often. Using a phosphorus-heavy, liquid succulent fertilizer once a year in the spring is plenty. Over-fertilizing can lead to a buildup of salts in the soil, which can actually cause the leaves to turn brown at the tips.
Choosing the Right Variety
If you are just starting out, the best aloe vera plant for beginners is the standard Aloe barbadensis miller. It’s the classic medicinal aloe and is incredibly resilient. If you want something more decorative, look for the Aloe variegata (Tiger Aloe) or the Aloe aristata (Lace Aloe). Regardless of the best aloe vera plant variety you choose, the care principles remain the same.
Troubleshooting Other Common Issues
While the aloe vera plant turning brown and mushy is the most common killer, here are a few other things to watch for:
| Symptom | Probable Cause | Quick Fix |
| Thin, curled leaves | Underwatering | Give it a deep soak. |
| Tall, “leggy” growth | Not enough light | Move to a sunnier window. |
| Tiny white webs | Spider Mites | Wipe leaves with neem oil. |
| Brown, dry leaf tips | Low humidity or salt buildup | Flush the soil with distilled water. |
Lessons Learned from My “Plant Parent” Failures
One of my biggest mistakes was using a pot that was way too big. I thought, “I’ll give it room to grow!” But a giant pot holds a giant amount of soil. That soil stays wet for weeks, creating a perfect breeding ground for fungus. Now, I always keep my aloes in pots that are only about an inch or two wider than the root ball.
Another lesson? Ignore the calendar. I used to have a “Watering Wednesday” routine. It killed half my succulents. Now, I use a moisture meter or just the weight of the pot. A dry pot feels surprisingly light; a waterlogged pot feels heavy.
Frequently Asked Questions
Can I save an aloe with no roots?
Yes! If you had to cut all the roots off due to rot, don’t panic. As long as the “crown” (the center where leaves meet) is firm, you can treat it like a cutting. Let it callus, then place it on top of dry cactus soil. Do not water it for 3 weeks. It will eventually grow new “adventitious” roots.
Why is my aloe turning purple/red?
This is usually “stress coloring.” It happens when the plant gets a lot of sun or a sudden change in temperature. It’s not necessarily bad, but it’s a sign the plant is working hard. If you don’t like the look, move it slightly away from the window.
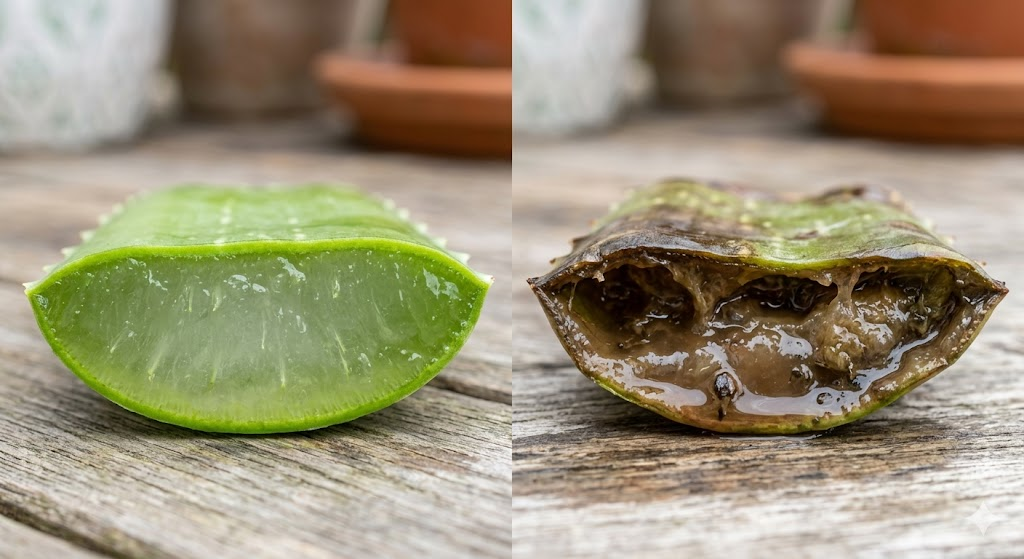
Is the brown mushy gel safe to use on skin?
No. If the leaf is brown and mushy, it is decomposing or infected with bacteria/fungus. Discard those leaves immediately. Only use the clear, firm gel from healthy green leaves.
Final Thoughts: The Path to Recovery
Seeing your aloe vera plant turning brown and mushy is heartbreaking, but it’s a rite of passage for every gardener. It teaches you the most important lesson in plant care: Observe more, intervene less.
By choosing the best soil for aloe vera plant, using a terracotta pot, and respecting the plant’s need for a “dry spell,” you can turn a dying plant into a thriving centerpiece. Remember, these plants are survivors. They want to live. Sometimes, the best way to help them is to just put the watering can down and let them breathe.
Happy planting!